Installing doors over cavity walls involves a combination of precision, planning, and attention to detail. Cavity walls, designed to enhance thermal insulation and prevent moisture ingress, require specific techniques to maintain their functionality when modified. This guide walks you through the process of installing doors in cavity walls, focusing on structural integrity, thermal efficiency, and smooth operation.
What Are Cavity Walls?
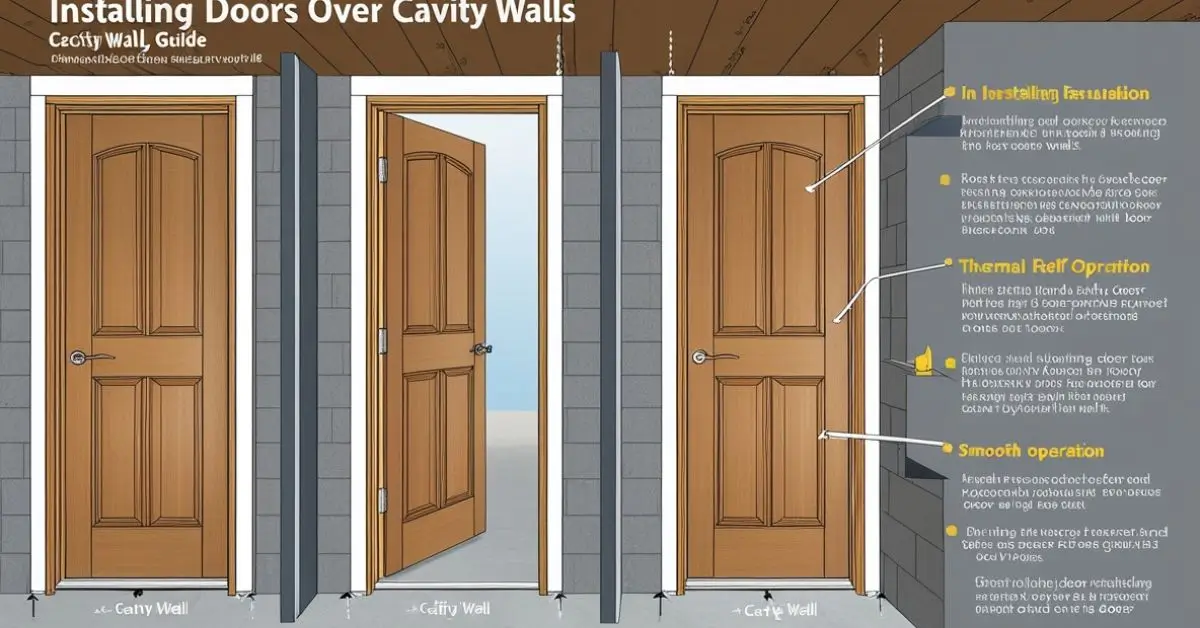
Cavity walls consist of two parallel masonry walls (often referred to as leaves) with a gap or cavity between them. This design improves insulation, reduces heat transfer, and helps in preventing moisture from seeping through. When creating an opening for a door, both leaves and the cavity need careful attention to preserve these benefits.
Key Considerations for Door Installation
- Structural Support
- Ensure the wall can bear the load of the new opening without compromising stability.
- Thermal Insulation
- Maintain or enhance the insulation properties of the cavity wall to avoid thermal bridging.
- Moisture Control
- Implement measures like damp-proof courses and weatherproofing to prevent water ingress.
- Door Functionality
- Ensure the door opens and closes smoothly without interference from the surrounding structure.
Step-by-Step Guide to Installing Doors Over Cavity Walls
1. Planning and Preparation
- Assess the Wall Consult a structural engineer or building expert to confirm the wall’s ability to support a new door. Identify any load-bearing elements that might require reinforcement.
- Select the Door Choose a door type and size that suits the intended opening and complements the building’s design.
- Mark Dimensions Use accurate measurements to outline the door frame on the wall. Precision at this stage is crucial for a successful installation.
2. Preparing the Opening
- Install Lintels Before cutting the wall, place lintels above the intended opening to provide structural support. Lintels must span the entire width of the cavity wall, including both leaves.
- Cut the Wall Use masonry tools to carefully cut through the outer and inner leaves of the wall. Ensure the cuts are clean and straight to accommodate the door frame.
3. Installing the Door Frame
- Position the Frame Place the door frame into the prepared opening. Ensure it is level, plumb, and aligned with the wall.
- Secure the Frame Use metal brackets or anchor bolts to fix the frame to the masonry. Ensure the frame is firmly attached to both leaves of the cavity wall.
- Insulate the Cavity Fill the gap between the frame and the cavity wall with insulation material to prevent thermal bridging. Expanded foam or mineral wool can be effective options.
4. Ensuring Thermal and Moisture Efficiency
- Seal Gaps Apply expanding foam around the edges of the frame to seal any gaps. This prevents air leakage and improves insulation.
- Add a Damp-Proof Course (DPC) Install a DPC around the door frame to prevent moisture from penetrating into the interior space. Ensure it is properly integrated with the existing cavity wall DPC.
- Install Flashing Use flashing above the door to direct rainwater away from the opening. This step is critical for weatherproofing.
5. Final Steps
- Hang the Door Attach the door to the frame using robust hinges. Ensure it operates smoothly and aligns perfectly with the frame.
- Check Alignment Verify that the door is level and plumb. Adjust hinges or hardware as needed to ensure proper operation.
- Finish Sealing Apply caulk or weatherproof sealant around the exterior edges of the frame. This provides an additional layer of protection against water and air infiltration.
Comparison of Installation Methods
| Method | Advantages | Disadvantages |
|---|---|---|
| Standard Installation | Easy to execute; minimal materials | Potential thermal bridging |
| Thick-Jamb Installation | Better insulation; wider openings | Requires custom frames; more effort |
| Stepped Installation | Reduces thermal bridging | Complex framing and finishing |
| Interior Installation | Enhanced weatherproofing | Requires additional exterior trim |
Common Challenges and Solutions
- Thermal Bridging
- Solution: Use high-quality insulation materials to fill gaps around the door frame.
- Moisture Ingress
- Solution: Ensure proper installation of DPC and flashing.
- Structural Integrity
- Solution: Install appropriate lintels and consult a professional for load-bearing walls.
Tips for a Professional Finish
- Use High-Quality Materials Invest in durable frames, doors, and hardware to ensure longevity.
- Follow Manufacturer Instructions Adhere to guidelines provided with your door and frame to avoid installation errors.
- Perform Regular Maintenance Inspect seals, hinges, and weatherproofing regularly to maintain performance.
Conclusion
Installing doors over cavity walls is a complex but rewarding project. By following the steps outlined above and addressing challenges proactively, you can achieve a functional and aesthetically pleasing result. Proper planning, quality materials, and attention to detail are the keys to success.