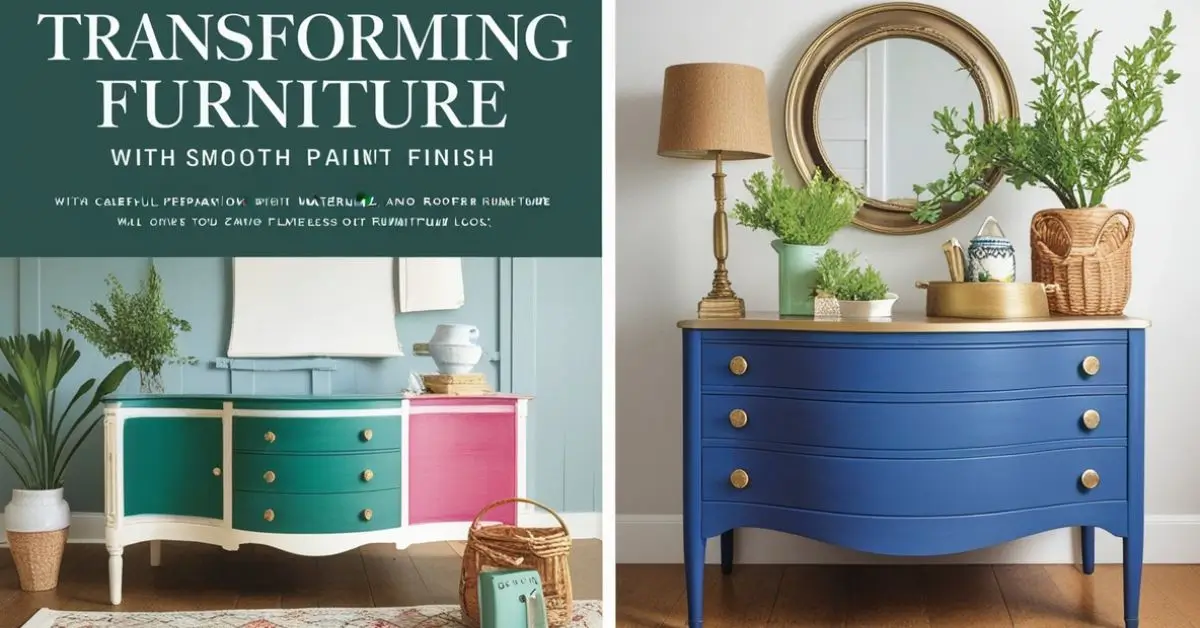
Transforming furniture with a smooth, professional paint finish is both rewarding and achievable. With careful preparation, the right materials, and proper techniques, you can give old or new furniture a flawless look. This comprehensive guide will walk you through every step, ensuring that your project turns out beautifully.
Step 1: Prep Work Is Key
Clean the Surface
Before you even think about picking up a paintbrush, start by cleaning the furniture. Dust, grease, and dirt can prevent paint from adhering properly, leading to peeling or uneven application. Use a degreasing cleaner or a mixture of mild soap and water, and make sure the surface is completely dry before proceeding.
Sand the Furniture
Sanding is a crucial step to ensure the paint adheres well and achieves a smooth finish. Start with medium-grit sandpaper, around 100–120 grit, to remove any old paint, varnish, or rough spots. Then, switch to finer sandpaper, like 220 grit, to smooth the surface further. Always sand in the direction of the wood grain to avoid scratches that might show through the paint.
Repair Any Imperfections
Inspect the furniture for cracks, dents, or holes. Use wood filler to repair these imperfections and let it dry completely. Once dry, sand the filled areas until they are flush with the surface. This extra step ensures a flawless result.
Prime the Surface
Applying primer creates a solid base for your paint. It seals the wood, evens out inconsistencies, and improves paint adhesion. Use a high-quality primer suitable for the type of surface you’re painting. For glossy or laminate furniture, choose a primer designed for slick surfaces. Apply a thin, even coat and let it dry completely.
Step 2: Choose the Right Paint and Tools
Picking the Paint
For a smooth and durable finish, use paints specifically designed for furniture. Options like acrylic enamel, chalk paint, or latex paint with a satin or semi-gloss finish work well. These paints dry hard and are less prone to showing brush marks.
Essential Tools
- Brushes: High-quality synthetic brushes are perfect for detailed work and applying paint evenly.
- Foam Rollers: Ideal for large, flat surfaces, foam rollers help achieve a smooth, streak-free finish.
- Paint Sprayers: While optional, a paint sprayer offers a flawless, professional look and is excellent for intricate designs or textured surfaces.
Step 3: Painting for a Smooth Finish
Apply Thin Coats
Rather than slapping on a single thick coat of paint, apply several thin coats. Thin layers dry faster and evenly, reducing the risk of drips or streaks. Let each coat dry fully before applying the next.
Sand Between Coats
For a truly smooth finish, lightly sand between coats with fine-grit sandpaper (220 grit or higher). This step removes any tiny imperfections or dust particles, ensuring that each subsequent coat adheres well and looks seamless.
Use Paint Additives
To minimize brush marks and improve paint flow, consider using paint additives. These products help the paint level out, especially in warmer climates where paint tends to dry quickly. Additives also enhance the overall finish, making it look more professional.
Step 4: Advanced Techniques for a Flawless Result
Mastering Brush and Roller Techniques
When using a brush, apply paint in long, even strokes, following the grain of the wood. Avoid overworking the paint, as this can create streaks. If using a roller, choose a foam roller for an ultra-smooth finish and roll in consistent, overlapping motions.
Spray Painting
For an exceptional finish, consider using a paint sprayer. This method applies paint evenly without brush marks. However, it requires practice and careful preparation. Work in a well-ventilated area and protect nearby surfaces from overspray with drop cloths or painter’s tape.
Step 5: Sealing and Protecting the Paint
Apply a Topcoat
Once the final coat of paint is completely dry, protect your work with a clear topcoat. This layer shields the paint from scratches, stains, and wear over time. Use a water-based polycrylic finish for painted furniture, as it dries clear and won’t yellow like oil-based products. Apply two to three thin coats, letting each one dry thoroughly.
Sand Lightly Between Coats
As with the paint, lightly sand the surface between layers of the topcoat. This ensures a smooth and even protective layer that enhances the furniture’s durability.
Tips for Troubleshooting Common Issues
Dealing with Brush Marks
If you notice brush marks, lightly sand the area and apply another thin coat of paint, ensuring even strokes. Using a paint conditioner can also help minimize visible strokes.
Preventing Drips
Thin coats are key to avoiding drips, but if they do occur, sand them away once the paint is dry and touch up the area with a small amount of paint.
Addressing Uneven Coverage
Uneven coverage often results from insufficient primer or paint application. To fix this, lightly sand the area and apply additional coats as needed.
Comparison of Application Methods
| Method | Pros | Cons |
|---|---|---|
| Brush | Precise control; great for details | Slower; potential for visible brush marks |
| Foam Roller | Smooth finish on flat surfaces | Not suitable for detailed areas |
| Paint Sprayer | Professional finish; fast application | Requires setup; potential for overspray |
Practical Example: Painting a Wooden Dresser
To illustrate these steps, imagine you’re painting a wooden dresser:
- Preparation: Clean the dresser, sand it thoroughly, and apply a primer suitable for wood.
- Painting: Use a foam roller for the flat surfaces and a brush for the corners. Apply three thin coats of satin-finish acrylic paint, sanding lightly between coats.
- Sealing: Once dry, apply two coats of water-based polycrylic for protection.
Final Thoughts
Painting furniture to achieve a smooth finish is a skill that requires patience, attention to detail, and the right techniques. By following these steps and investing in quality materials, you can transform any piece into a beautifully finished masterpiece. Whether you’re a DIY enthusiast or a beginner, the results will be well worth the effort.
For a step-by-step visual guide, check out this helpful YouTube video:
How to Paint Furniture for a Smooth Finish
With these tips in hand, you’re ready to tackle your next furniture painting project with confidence!