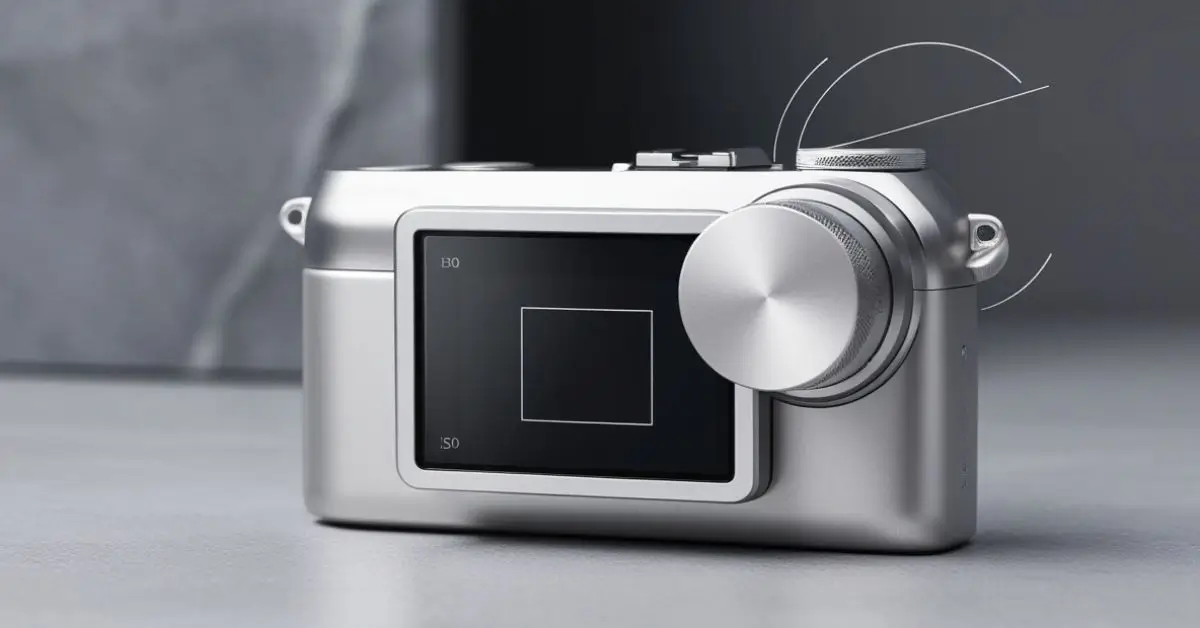
Adjusting ISO or ASA is a foundational skill in photography that allows you to control your camera’s sensitivity to light. Understanding this setting can transform your ability to take photos in diverse lighting conditions. Whether you’re using a digital or film camera, mastering ISO adjustments will help you capture images with the right exposure and quality.
What Is ISO/ASA?
ISO (International Organization for Standardization) is the standard used in digital photography to describe the sensitivity of your camera’s sensor to light. ASA (American Standards Association) is an older term primarily used in film photography, but it serves the same purpose.
- Low ISO Values (e.g., 100): These represent low sensitivity to light, ideal for bright conditions and producing sharp, noise-free images.
- High ISO Values (e.g., 800+): These indicate high sensitivity to light, suitable for low-light scenarios but may introduce noise or grain.
Why Adjust ISO/ASA?
Adjusting ISO or ASA is crucial for managing exposure and achieving the desired visual effect in your photos. The ISO setting is one part of the “exposure triangle,” alongside aperture and shutter speed. Balancing these elements determines the final look of your image.
Steps to Adjust ISO/ASA on Digital Cameras
- Locate the ISO Button or Menu:
Most digital cameras have a dedicated ISO button or dial, making it easily accessible. On some models, you might need to access the ISO settings through the main menu. - Choose the ISO Value:
After pressing the ISO button or navigating to the menu, you’ll see a range of ISO values. Select the one that matches your lighting conditions. - Apply the Changes:
Confirm your selection by pressing “OK” or “Set” on your camera. The new ISO value will now be active.
Steps to Adjust ISO/ASA on Film Cameras
- Find the ISO/ASA Dial:
Traditional film cameras often have a physical ISO/ASA dial located near the film rewind lever. - Set the ISO/ASA Value:
Rotate the dial to match the ISO/ASA value of the film you’re using. This ensures your camera’s light meter accurately reads the film’s sensitivity. - Secure the Setting:
Once the correct value is set, ensure the dial is locked in place to avoid accidental changes.
Practical ISO Tips for Various Scenarios
- Bright Daylight: Use ISO 100 or 200 to capture crisp images with fine details.
- Indoor Lighting: ISO 400 to 800 is ideal, balancing sensitivity and noise.
- Low Light or Night Photography: ISO 1600 or higher may be necessary, but be prepared for potential noise in the image.
- Action Shots: Higher ISO values can help achieve faster shutter speeds, freezing motion effectively.
Impact of ISO on Image Quality
Changing ISO settings has a direct impact on your photos:
- Noise/Grain: Higher ISO values can introduce noise (in digital images) or grain (in film), reducing image clarity.
- Dynamic Range: Lower ISO settings preserve more detail in highlights and shadows, offering a broader dynamic range.
- Sharpness: Lower ISO values maintain image sharpness, as they avoid amplifying sensor imperfections.
Common Misconceptions About ISO
- ISO Brightens Images: Increasing ISO doesn’t add light to your scene. Instead, it amplifies the camera sensor’s sensitivity to available light.
- Auto ISO Always Works: While Auto ISO is convenient, it may not always produce the desired artistic effect. Manual adjustments give you more control.
Advanced ISO Techniques
- ISO Bracketing: Capture multiple shots at different ISO settings to see how each impacts your image, especially in tricky lighting.
- Noise Reduction: Many modern cameras offer noise reduction features, which can minimize the effects of high ISO but might reduce fine details.
- Pushing Film: In film photography, setting a higher ISO value than the film’s actual rating can enhance contrast and mood, though it often increases grain.
ISO Settings Comparison Chart
| ISO Value | Lighting Condition | Image Characteristics |
|---|---|---|
| 100 | Bright sunlight | Crisp, noise-free images |
| 200 | Overcast or shaded areas | Slightly increased sensitivity, low noise |
| 400 | Indoor lighting | Balanced sensitivity, minimal noise |
| 800 | Low-light environments | Higher sensitivity, noticeable noise |
| 1600+ | Night or dim settings | Significant noise, high sensitivity |
Tips for Perfecting ISO Adjustments
- Experiment with Different Settings: Practice in various lighting conditions to understand how ISO affects your photos.
- Combine with Aperture and Shutter Speed: ISO alone doesn’t define exposure. Balance it with other settings for the best results.
- Check Your Camera’s Limits: Some cameras handle high ISO better than others. Learn your equipment’s strengths.
Conclusion
Mastering ISO or ASA adjustments is essential for photographers of all skill levels. By understanding how this setting interacts with light and other camera functions, you can capture stunning images in any environment. Take time to practice, experiment, and explore the creative possibilities that come with mastering ISO adjustments.


